
Image generation relies on prompts to create visuals. The element of randomness allows the system to produce images that have never existed before. However, there are times when more control is needed, especially for complex poses or highly detailed scenes. This is where the Image Guidance features excel: they use the shapes and lines from an image as the foundation, while the prompt defines the details and artistic style.
In this step-by-step guide, we’ll walk you through transforming a rough sketch or doodle into a masterpiece using Leonardo.Ai.
- Step 1: Preparing Your Sketch
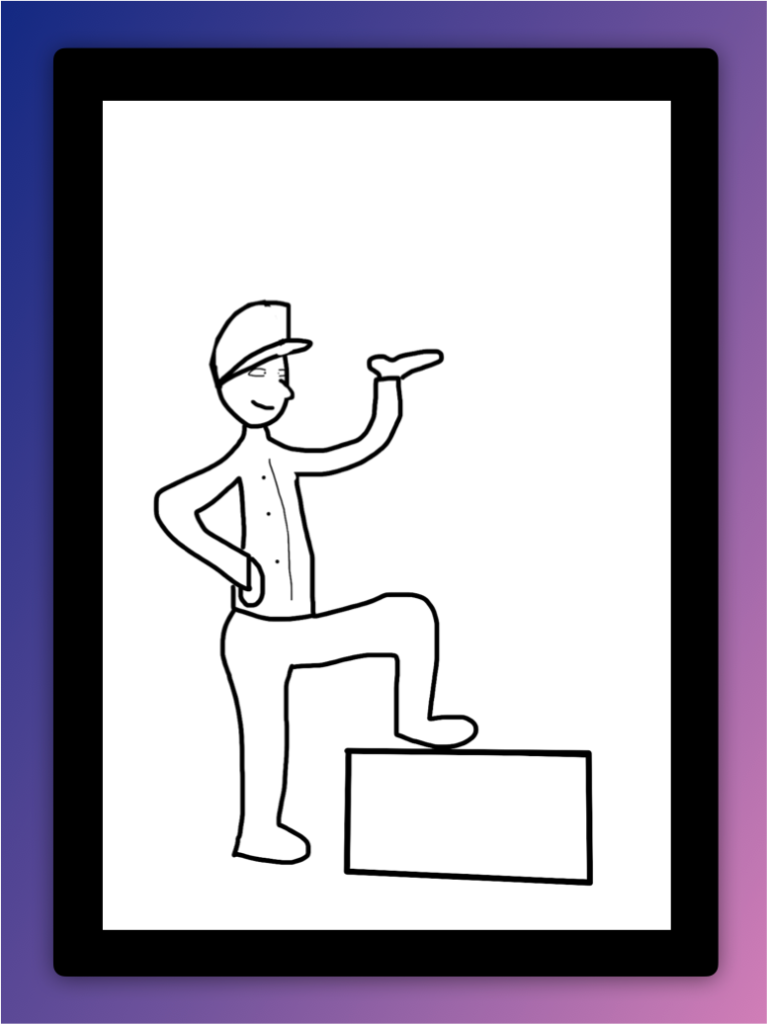
Ensure your sketch is on a plain surface. For best results, avoid lined paper, as it can distort the image. Black lines on a white background work best. Below is an example of a sketch created roughly in a drawing application using a mouse.
- Step 2: Uploading Your Sketch
Go to app.leonardo.ai and click on “Image Creation” in the left navigation bar.

In the image creation tool, locate the prompt toolbar and click on the picture icon on the left, then select “View More.”
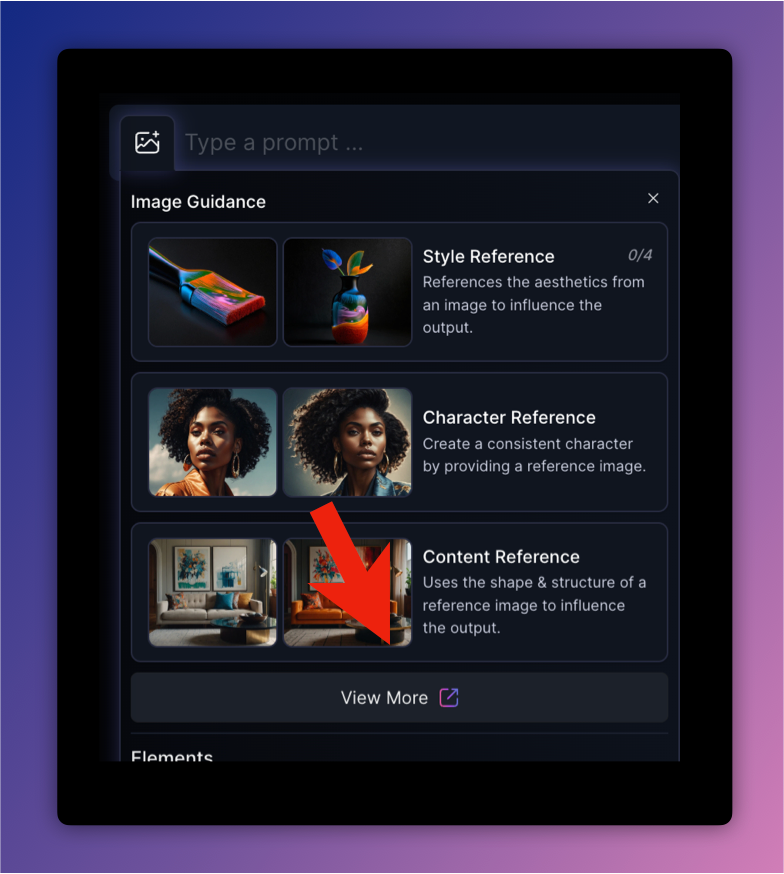
Choose “Edge to Image” to detect the lines in your sketch and guide the image generation process.

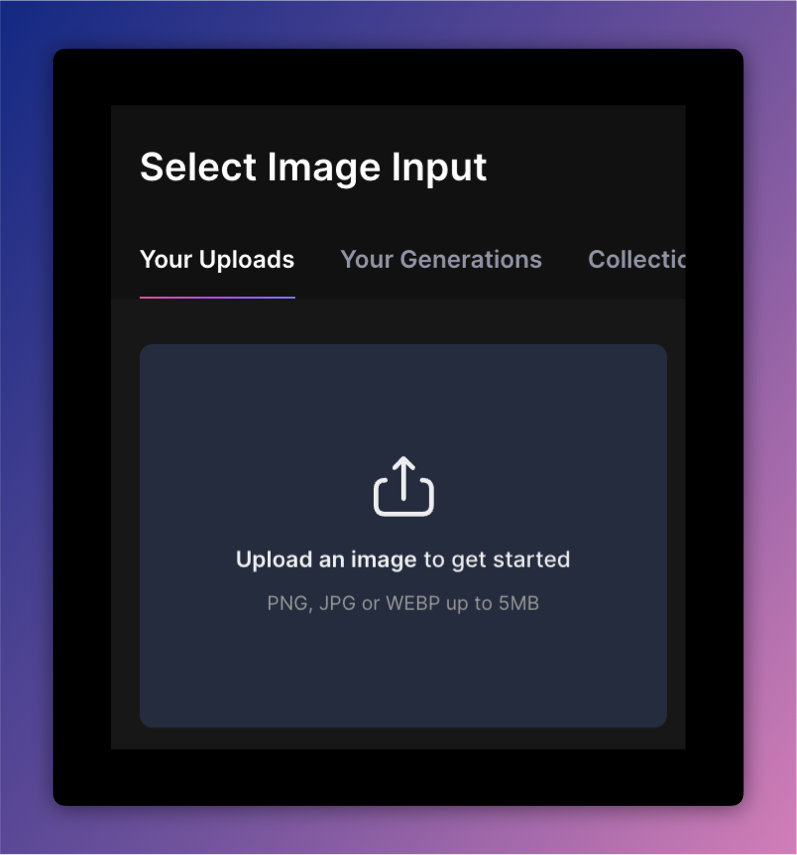
Click on “Upload an image to get started,” and navigate to the file containing your sketch.
- Step 3: Adjusting Strength Settings
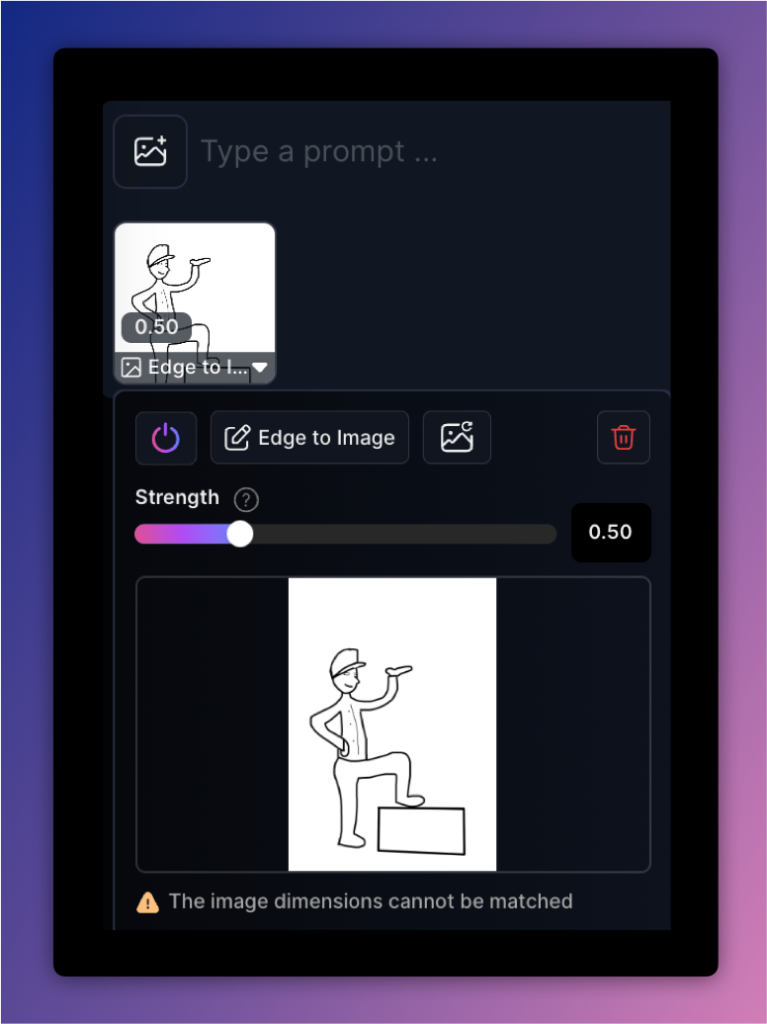
Once the image is uploaded, click on it in the prompt bar. Adjust the “Strength” slider to a range between 0.30 and 0.50. If the strength is too low, the shapes will be ignored; if too high, the lines will be overly prominent.
- Step 4: Entering Your Prompt and Selecting a Model
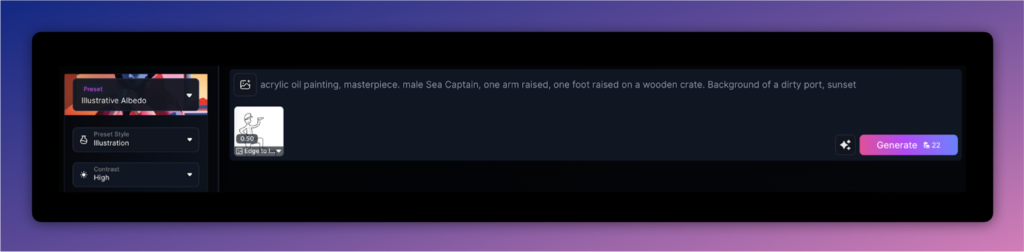
Select your preferred preset and model, then enter a detailed prompt describing the image you want to generate. For example, using the “Illustrative Albedo” preset, you might enter a prompt such as:
“Acrylic oil painting, masterpiece. Male sea captain with one arm raised, one foot on a wooden crate. Background: a dirty port at sunset.”
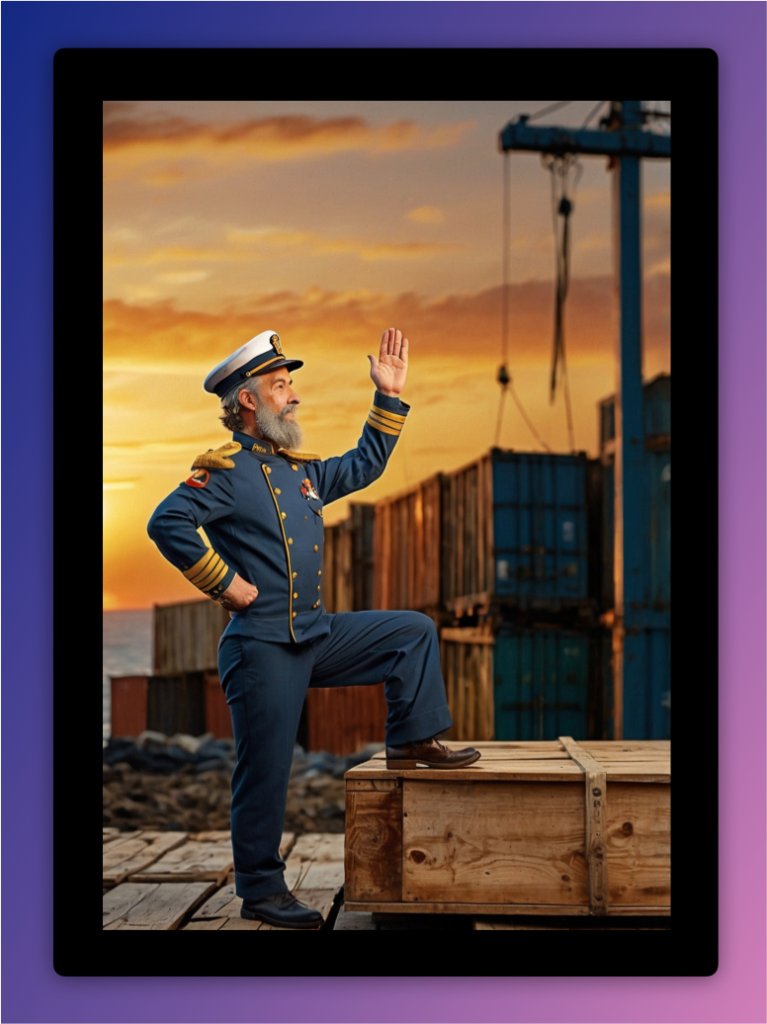
For more photorealistic results, popular options include “Leonardo Lightning” and “Portrait Perfect.”
- Step 5: Generating and Refining the Image
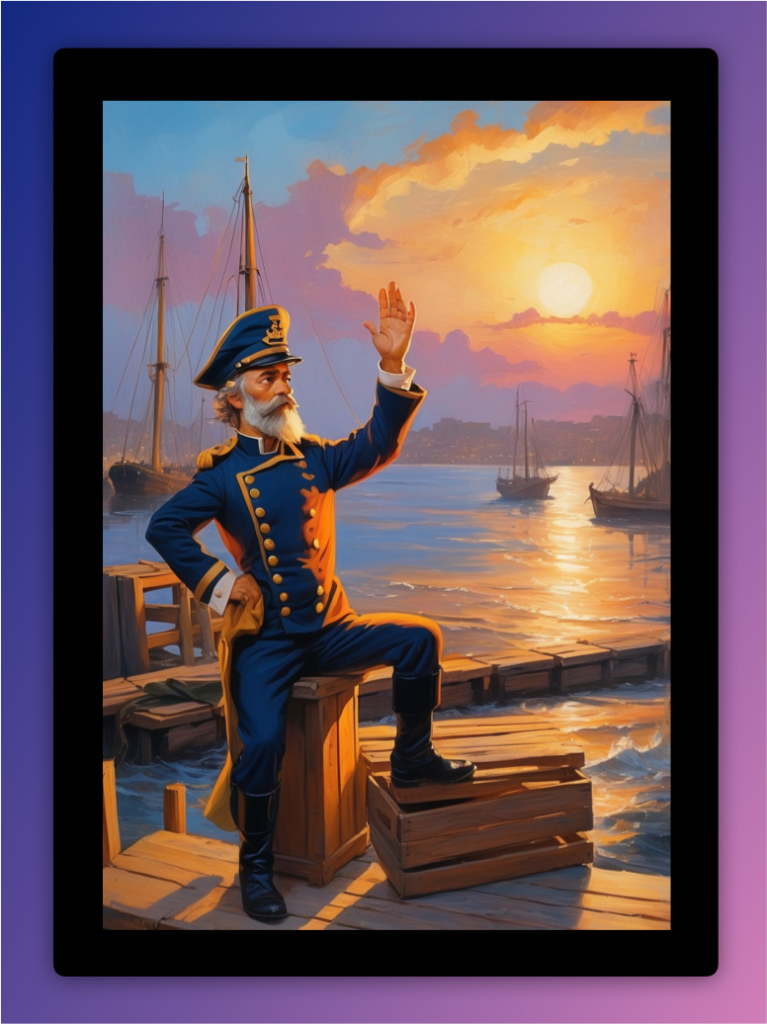
Click “Generate” to produce a series of image variations. You can choose between the variations or experiment further with different models and prompts to achieve the desired result.
Conclusion:
Using the Edge to Image feature with lowered strength settings allows for better guidance when generating images with complex poses or intricate setups, making it ideal for creating promotional materials, posters, or quickly prototyping marketing ideas.
For more information on advanced Image Guidance features, refer to the Image Guidance article in the Leonardo.Ai documentation.
This guide was originally written by our valued Discord community members, DerD4nnY, Arctellion and WillowB.
